

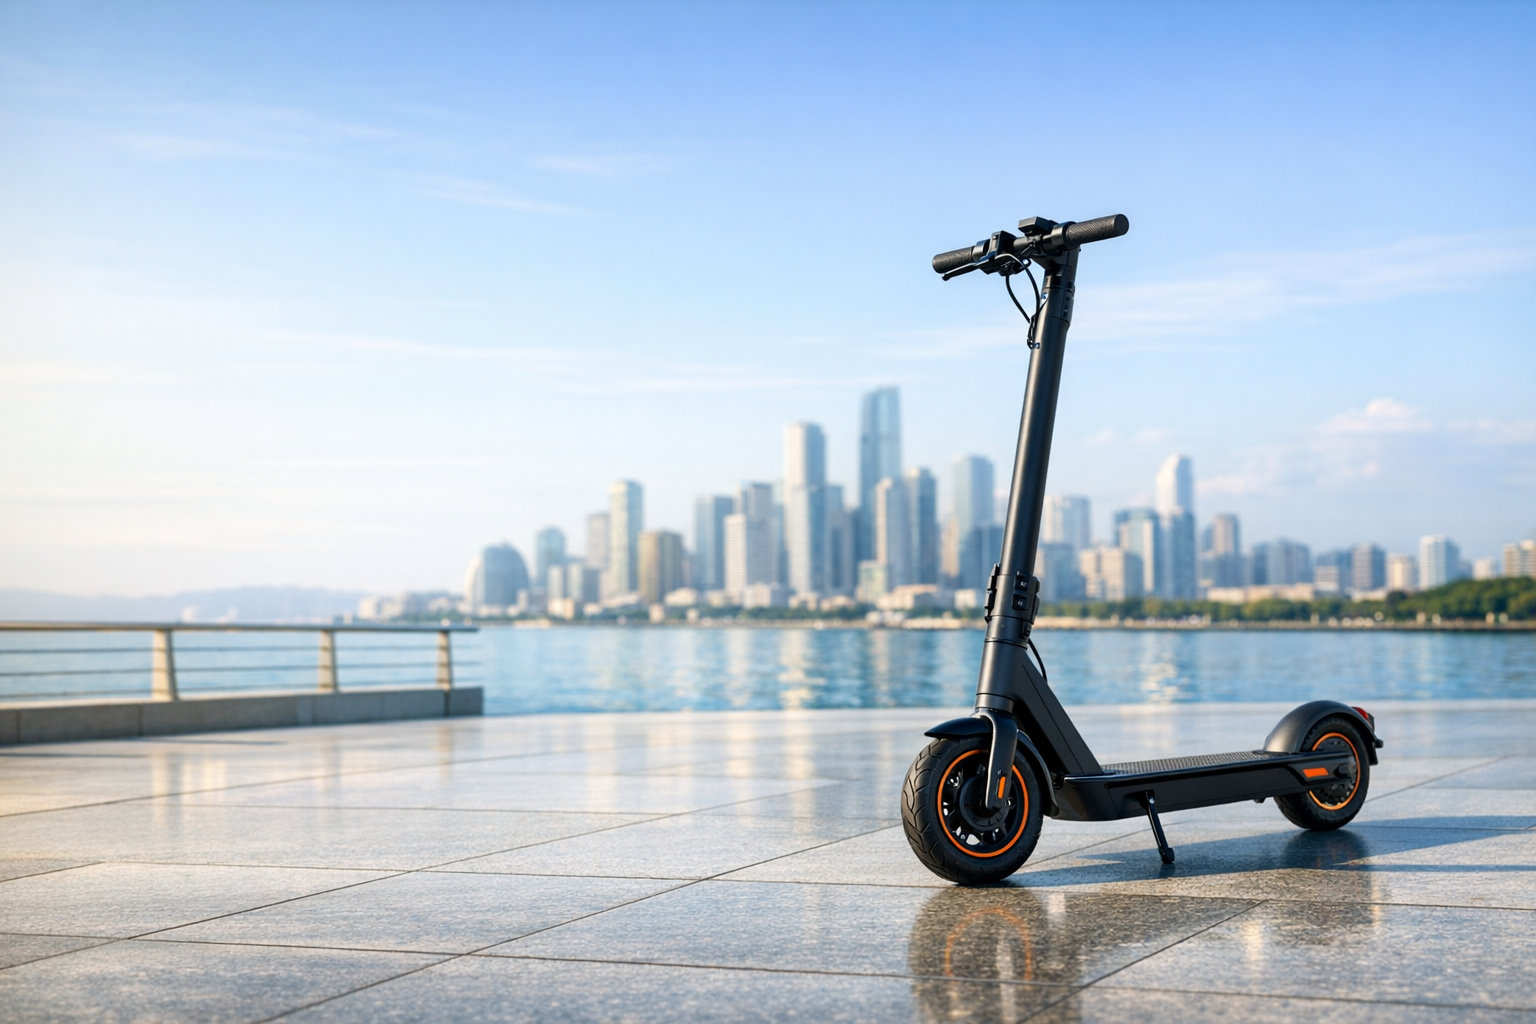
Maintenance Checklist: Keep Your Scooter Safe isn’t a single scooter model—it’s the maintenance approach every electric scooter owner in the United States should follow to reduce crashes, prevent breakdowns, and protect battery life. This guide focuses on real diagnostics (what to check), preventive care (what to do), and clear intervals (when to do it), plus the most common owner-reported pain points: flats, loose fasteners, brake rub, water damage, and hard-to-service rear tires.
Maintenance Checklist: Keep Your Scooter Safe — quick pre-ride safety check (2 minutes)
- Tires: Squeeze-test isn’t enough. Check pressure with a gauge (especially on small tires). Low pressure is a top cause of pinch flats, poor braking, and wobble.
- Brakes: Roll the scooter and do a hard stop test at walking speed. Lever should feel firm and consistent; stopping should be straight, not pulling left/right.
- Handlebar/stem: With the front wheel locked between your feet, twist bars left/right. Any clunk = stop riding and tighten/inspect.
- Lights & signals: Headlight, brake light, and turn signals (if equipped). Don’t assume they work just because the display turns on.
- Throttle return: It must spring back instantly. Sticky throttle is a “do not ride” issue.
- Battery & display: Confirm you have enough charge for the trip plus a buffer (headwinds/cold can reduce range).
Maintenance Checklist: Keep Your Scooter Safe — weekly checks (10–20 minutes)
1) Tire condition & pressure (range, safety, reliability)
- Pressure: Inflate to the scooter’s labeled PSI range (not the tire’s max). Underinflation causes sluggish acceleration, reduced real-world range, and higher flat risk.
- Tread & sidewalls: Look for bald spots, cuts, bulges, or cords showing. Sidewall damage = replace (sealant won’t save it).
- Valve/slow leaks: Put a drop of soapy water on the valve core and around the rim bead. Bubbles = leak source.
Owner reality: Rear tire pressure checks and rear tire repairs are commonly described as annoying or difficult on many commuter scooters. A right-angle valve adapter and a decent inflator make this dramatically easier.
2) Brakes (stopping power beats speed)
- Disc brake rub: Spin each wheel. Light rubbing can be normal, but constant scraping means caliper alignment is off or the rotor is bent.
- Mechanical disc brakes: If lever travel increases, adjust cable tension (barrel adjuster) and/or pad position per your scooter’s design.
- Hydraulic brakes: If the lever pulls to the bar or feels spongy, you may need a bleed. If you’re not experienced, treat it as a pro-service item.
- Brake pads: Replace when thin or contaminated (squeal plus weak braking can mean oil/cleaner got on pads).
3) Fasteners & folding mechanism (the “silent failure” category)
- Critical bolts: Stem clamp, handlebar clamp, suspension linkage bolts (if any), brake caliper bolts, axle nuts.
- Technique: Tighten to spec if available. Avoid overtightening (stripped threads are common). Use medium-strength threadlocker sparingly on high-vibration fasteners if your manufacturer allows it.
- Folding joint: Clean, inspect for cracks or play, then lubricate lightly only where the manufacturer recommends.
4) Electrical check (small issues become expensive fast)
- Wiring: Look for chafing, exposed conductors, loose connectors, or pinched cables near the folding point.
- Water damage clues: Corrosion at connectors, intermittent throttle/display, or random power cuts after wet rides.
Monthly / every 300–500 miles (or 20–40 hours): deeper preventive maintenance
Clean correctly (avoid creating new problems)
- Do: Use a damp microfiber cloth and mild soap. Use a soft brush for grip tape and crevices.
- Don’t: Pressure wash. Don’t blast water into the deck, bearings, motor hubs, or charging port.
- After wet rides: Dry the scooter and check that the charge port is clean and dry before charging.
Lubrication (quiet ride, longer life)
- What to lube: Folding joint (if applicable), suspension pivots (if applicable), and other metal-on-metal moving interfaces.
- What not to lube: Brake rotors, pads, and anything that can contaminate braking surfaces.
- What to use: Silicone-based lubricant or a light machine oil where appropriate. Avoid using a “water displacer” as a long-term lubricant.
Wheel, headset, and bearing checks (comfort & stability)
- Wheel play: Grab the wheel and rock it side-to-side. Any play suggests loose axle hardware or bearing issues.
- Headset play: Front brake on, rock the scooter back and forth. A knocking sensation usually means headset/stem hardware needs adjustment.
- Ride comfort note: Harsh vibration often traces back to low tire pressure, over-tight suspension settings (if adjustable), or worn tires—not “normal scooter feel.”
Battery & charging maintenance (range, longevity, and safety)
Most riders think “maintenance” is tires and brakes. In real life, battery habits often decide whether a scooter feels strong after a year—or feels like it lost 30% of its range.
- Charging: Use the original charger or a manufacturer-approved replacement. Avoid cheap third-party chargers.
- Heat management: Let the scooter cool before charging after hard rides (especially in hot U.S. summers). Avoid charging in direct sun or inside a hot car.
- Storage: For multi-week storage, don’t leave it at 0% or 100%. Aim for a mid-charge level and check monthly.
- Warning signs: Rapid voltage sag, sudden shutdown under acceleration, or the scooter refusing to charge normally.
Water resistance & weatherproofing (what riders get wrong)
Many scooters have an IP rating, but water resistance is not waterproofing. Riding in rain increases maintenance needs and failure risk.
- Before rainy season: Inspect the deck gasket (if present), charging port cover, and any cable entry points.
- After wet rides: Dry thoroughly, inspect connectors, and listen for new squeaks (water can wash out lubrication).
- Never: Charge if the charging port area is wet or you suspect water in the deck.
Tires, flats, and repairability in the United States (parts & service reality)
Flats are the #1 real-world complaint category for many commuter scooters with pneumatic tires. Even tubeless/self-sealing setups aren’t flat-proof—sidewall cuts, valve leaks, and bead leaks still happen.
- Pneumatic vs solid tires: Pneumatics ride better and grip better; solids reduce flats but worsen comfort and can increase stress on the scooter (and on you).
- Rear tire repairs: Rear tires are often harder due to motor wiring and tight clearances. Some brands recommend sending the scooter to a service center for rear tire work.
- Parts planning: If you commute daily, consider keeping spare tubes (if tubed), a valve core tool, spare brake pads, and at least one spare tire on hand.
Brake types, diagnostics, and when to seek professional service
When DIY is reasonable
- Adjusting mechanical brake cable tension
- Aligning a disc brake caliper to reduce rub
- Replacing brake pads (if you can follow your model’s service steps)
- Routine tire pressure, sealant top-up (where appropriate), and puncture checks
When to stop and get professional help
- Stem crack, folding latch damage, or persistent stem play
- Hydraulic brake issues if you don’t have bleeding experience or the correct bleed kit/fluid
- Motor/wiring issues: grinding noises, intermittent cut-outs, burning smell, melted connectors
- Battery damage signs: swelling, unusual heat while charging, or repeated charge errors
- Crash damage: bent fork, misaligned wheel, or a rotor that won’t true
Tools you’ll actually use (minimal kit vs commuter kit)
Minimal home kit
- Metric hex/Allen set (quality matters)
- Torque wrench (recommended for stem/handlebar fasteners)
- Tire pressure gauge + electric pump
- Degreaser safe for disc brakes + clean rags
- Medium-strength threadlocker (only where approved)
Commuter carry kit (for U.S. streets)
- Compact inflator or CO2 inflator (if compatible)
- Tubeless plug kit (for tubeless tires) or spare tube (for tubed tires)
- Mini hex tool + small adjustable wrench (if your scooter uses axle nuts)
- Nitrile gloves + a small rag
Performance topics people care about (and how maintenance affects them)
Real-world range
Low tire pressure, dragging brakes, and cold weather can slash real-world range. If your range suddenly drops, first check tire PSI and brake rub before blaming the battery.
Top speed and hill climbing
Weak hill climbing often comes from underinflated tires, overheating from long climbs, or battery sag. If the scooter slows more than usual on familiar hills, check tire PSI, brake drag, and battery temperature habits.
Ride comfort
Comfort is mostly tires + pressure + suspension setup (if you have it). Solid tires and overinflated small tires feel harsh; underinflated tires feel unstable and can pinch flat.
Portability and weight
Heavier scooters usually have more robust hardware but also more fasteners and suspension pivots to inspect. Folding commuters need extra attention at the latch and stem clamp because repeated folding is wear.
App/features and firmware
If your scooter has an app, use it as part of maintenance: check error codes, confirm firmware updates from the manufacturer, and verify brake light behavior (some scooters allow settings changes).
Price/value context: maintenance costs you should expect
- Consumables: Tires/tubes, brake pads, and occasionally rotors are normal wear items.
- Tools: A good pump and torque wrench cost upfront but often pay for themselves versus repeated shop visits.
- Service availability: Not all bike shops service scooters. Before you buy any scooter for daily commuting, confirm parts availability and whether the brand supports authorized repair centers or mail-in service in the U.S.
Reliability and the most common owner complaints (what to watch for)
- Flats / slow leaks: Usually pressure-related, puncture-related, or valve/bead-related.
- Brake rub and squeal: Caliper alignment, bent rotor, or contaminated pads.
- Loose stem / creaks: Folding mechanism wear, loose fasteners, or headset adjustment needed.
- Hard-to-service rear wheel: Common on motor-in-wheel designs, especially when tight wiring and fenders are involved.
- Water issues: Corrosion and intermittent electronics after wet rides or improper cleaning.
Warranty/support and parts: maintenance habits that protect you
- Keep records: Log tire changes, brake pad changes, and any repairs. Many brands consider damage from neglect or unauthorized repair as non-warranty.
- Use approved parts: Especially for chargers, batteries, brake components, and structural parts (stem/folding hardware).
- Don’t ignore early symptoms: A small wobble, a creak, or mild brake fade is often the first warning before a bigger failure.
Alternatives: lower-maintenance scooter setups (and tradeoffs)
- Solid tires: Fewer flats, harsher ride, often less grip on wet pavement.
- Wider tubeless tires with sealant: Often the best “commuter compromise” when done well.
- Drum brakes: Lower maintenance and weather-resistant, but can have less bite and less adjustability than discs.
- Higher water resistance designs: Better for rainy climates, but still not a pressure-wash-and-forget vehicle.
Who should (and should not) care about this maintenance checklist
You should care if you commute, ride above 15 mph regularly, ride in wet conditions, or rely on your scooter as daily transportation.
You might care less if you ride occasionally at low speed on dry paths—but you still need the pre-ride brake and tire checks to stay safe.
FAQ
What’s the most important electric scooter maintenance check for safety?
Tire pressure and brake function. Low PSI and weak brakes cause most preventable crashes and failures—check PSI with a gauge and do a walking-speed hard-stop test before every ride.
How often should I check electric scooter tire pressure?
At least weekly, and before long rides. Small scooter tires lose pressure faster than car tires; frequent checks prevent pinch flats, wobble, and reduced range.
Why does my scooter’s disc brake rub after a few rides?
Most often the caliper is slightly misaligned or the rotor is mildly bent. Spin the wheel, identify the rub point, re-center the caliper, and replace/true the rotor if it’s warped.
When should I replace electric scooter brake pads?
Replace when they’re visibly thin, braking feels weaker, or you hear metal-on-metal scraping. Also replace if pads get contaminated by lubricant or cleaner.
Do I need to bleed hydraulic brakes on an electric scooter?
Only when the lever feels spongy, pulls close to the handlebar, or braking fades. If you don’t have the correct bleed kit and fluid for your brake model, it’s best handled by a professional.
How do I know if my scooter battery is going bad?
Common signs are a sudden range drop, strong power loss under acceleration, rapid percentage drop, or unexpected shutdowns. First rule out low tire pressure and brake drag, then assess battery behavior over several rides.
Is it safe to ride and charge my scooter after riding in rain?
Riding in rain increases risk even with an IP rating. After wet rides, dry the scooter thoroughly and ensure the charging port area is completely dry before charging.
What tools should every scooter owner keep at home?
A tire pressure gauge and inflator, a quality metric hex set, and a torque wrench for critical fasteners. Add brake-safe cleaner and spare pads if you commute.